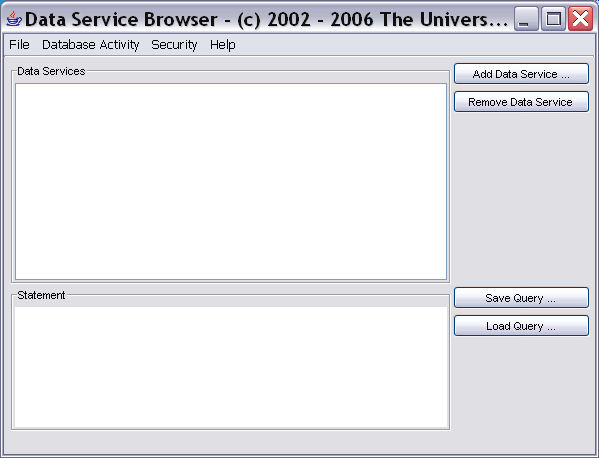
This document describes the usage of the OGSA-DAI Databrowser. The client supports interaction with relational and XML databases.
To launch the databrowser, from within the OGSA-DAI directory, run:
$ ant databrowser
The databrowser will appear:

This section will explain how you can select a data service URL and display the list of resources.
To add a data service to the display, click on Add Data Service ... . You can then select a URL for the data service, as shown below:

By default, the text input field contains the URL of a WSRF data service running on the local host. You can enter a non-default URL if desired. The drop-down list below the text field displays the URLs of data services that you have used previously.
Once you have entered a data service URL or selected one from the list, click OK.
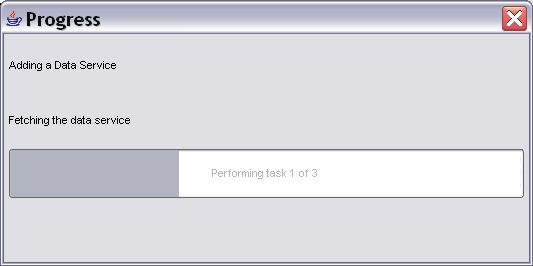
The databrowser is now contacting the data service to obtain a list of resources. Once the list has been obtained, the names of the available resources will be displayed in a tree view.
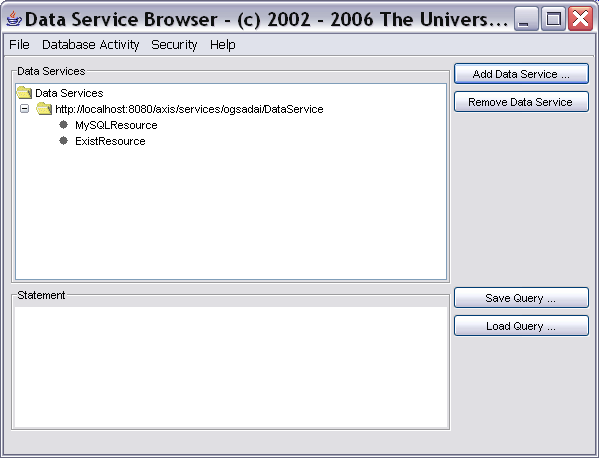
If an error message is displayed instead, please make sure that the your service hosting container is running and that OGSA-DAI has been correctly installed and configured.
Select a database that supports SQL queries from the displayed resources. Below the Statement window buttons will appear for each supported activity (e.g. SQL Query) when you select a data resource. If there are no databases available see Add a data service above for advice on how to add databases to the tree.
You can now enter the text of your query into the Statement input window.
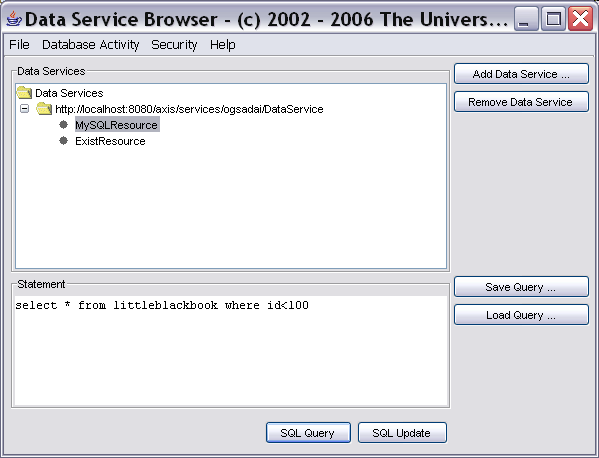
To perform the query click on SQL Query below your query statement. This will kick off the request and display a progress bar while waiting for the results to return.
Once the database has returned the results they are displayed in tabular form in a new window:
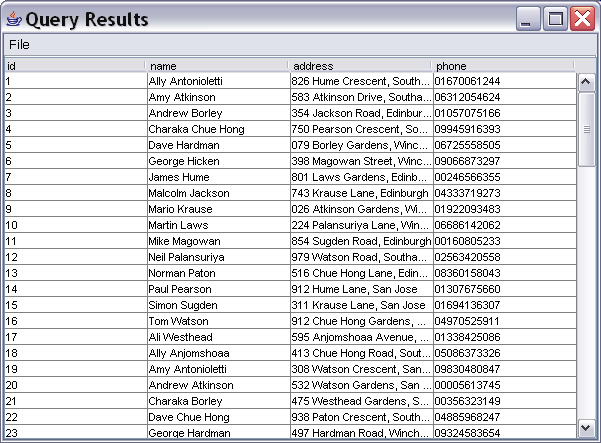
For information on how to use the result set view and how to save the results as a CSV file see The SQL result set viewer below.
If an error message is displayed instead, the database that you selected may not support SQL queries or a connection to the database could not be established.
Select a database that supports SQL updates from the displayed resources. If there are no databases available see Add a data service above for advice on how to add databases to the list.
You can now enter your SQL update statement into the Statement input window.
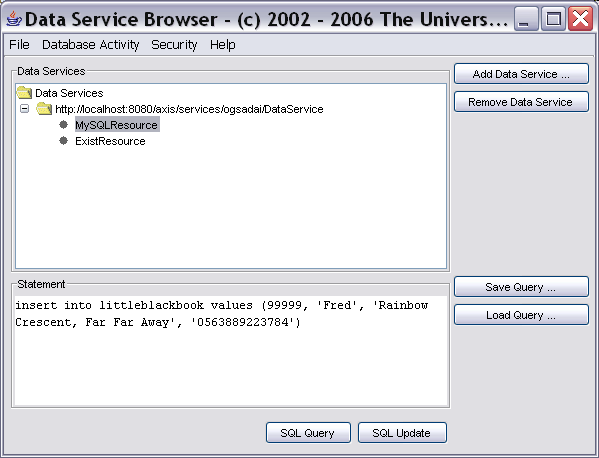
To perform the update click on SQL Update below your update statement. This will kick off the request and display a progress bar while waiting for the results to return.
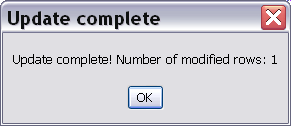
Once the database has returned the results the number of modified rows is displayed.
Select a data resource that connects to multiple relational databases (our so-called multi-resources) from the displayed resources. Below the Statement window buttons will appear for each supported activity (e.g. SQL Bag) when you select a data resource.
You can now enter the text of your query into the Statement input window.
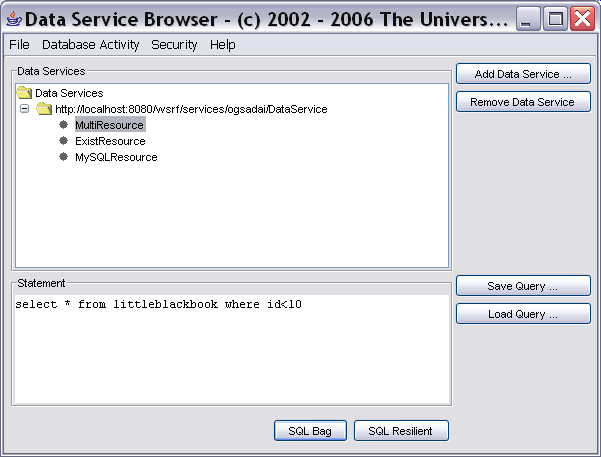
To run the entered query across multiple databases click on SQL Bag below your query statement. The request will be sent to the service which in turn contacts several relational databases and runs the given SQL query across all of them. A progress bar will be displayed while waiting for the results to return.
The results from all databases are merged into a single result set which is then displayed in tabular form in a new window:
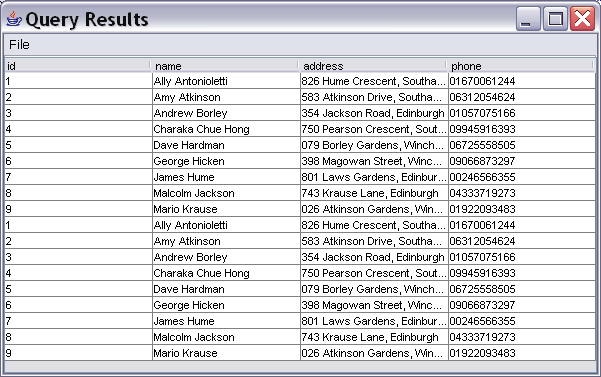
For information on how to use the result set view and how to save the results as a CSV file see The SQL result set viewer below.
If an error message is displayed instead, the database that you selected may not support this type of SQL query or a connection to one of the databases could not be established.
Another form of query across multiple databases is the SQL Resilient activity. This activity attempts to contact a set of databases with the same SQL query but returns only one result, which is the one from the first database to respond.
Please see the activity documentation for SQLBag and SQLResilient for more information.
Select a database that supports XPath queries from the displayed resources. If there are no databases available see Add a data service above for advice on how to add databases to the list.
You can now enter your XPath statement into the Statement input window.
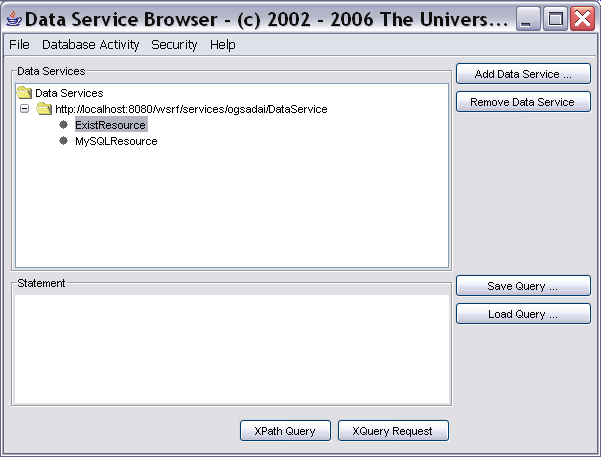
To perform the query click on XPath Query below your XPath query statement. This will kick off the request and display a progress bar while waiting for the results to return.
Once the database has returned the results they are displayed in the XML results viewer:
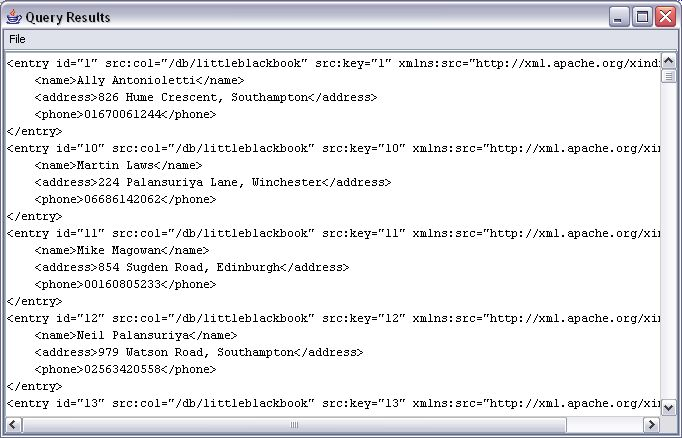
If an error message is displayed instead, your query may be invalid or a connection to the database could not be established.
The Join query ... command allows you to perform joins across two databases A and B. The results are stored in a third, target database. The join is performed as follows:
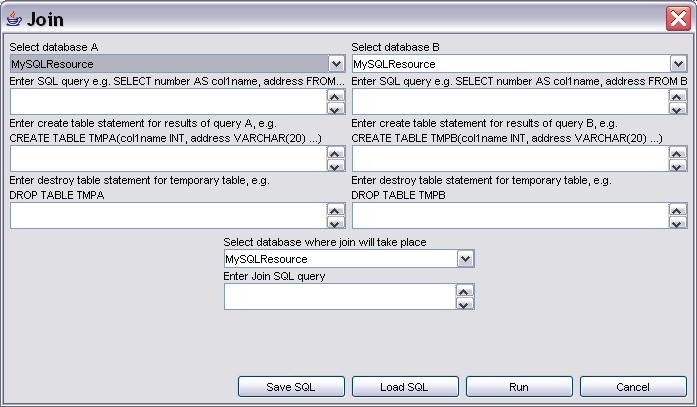
Select database A and database B from the drop-down lists at the top of the window. Then enter SQL query statements into the text boxes below.
The results of both queries will be loaded into intermediate tables within the target database. In order to create these tables enter the appropriate CREATE TABLE statements into the text boxes labelled "Enter create table statement ...".
After the join has been performed the intermediate tables will be dropped. Enter suitable DROP TABLE statements into the text boxes "Enter destroy table statement ... ". Note that an attempt to drop the intermediate tables will be made when an error occurs at some point during the execution of the join.
At the bottom of the window you must select the target database from the drop-down list and specify a join statement. Note that you will need to reference the intermediate tables that hold the query results from above.
Click Run to perform the join.
This is currently only applicable for OGSA-DAI WSRF distributions.
An attempt is made to register the secure transport protocol when the databrowser is started up. To enable transport security make sure that the necessary Java CoG jar (cog-axis.jar) is on the classpath. If the registration was successful the databrowser can communicate with secure services via the https protocol. Data integrity is guaranteed (i.e. it cannot be altered by third parties) but it is not encrypted.
To enable encryption over the secure transport channel select a data service resource from the list of displayed resources and choose Use Transport Level Security with Encryption from the Security menu. An icon will be displayed next to the selected data service resource in the list to indicate that all further communication with this data service resource will be encrypted.
Note that transport level encryption cannot be switched off once it has been selected for a data service resource.
Message level security must be configured with a descriptor. A security descriptor can be created and saved to a file by selecting Configure Message Level Security... in the Security menu. This pops up the following dialog:
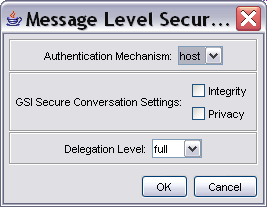
Choose an authorization mechanism from the drop-down list (the default is host). Select privacy or integrity from the checkboxes and specify the delegation level (default is full) from the list. After specifying all the configuration options the security descriptor must be saved to a file. Clicking on OK will pop up a file selector dialog which allows to specify a location where the security descriptor will be saved. Click Cancel to abandon the configuration of a security descriptor.
If a security descriptor already exists it can be loaded to configure message level security. Selecting Load Message Level Security Descriptor... in the Security menu pops up a file selector dialog to choose an existing message level security descriptor.
Once a security descriptor has been specified an icon will be displayed next to the selected data service resource to indicate that message level security will be used in all further communications with this data service resource.
Note that message level security cannot be switched off once it has been configured for a data service resource. It can only be reconfigured by specifying a different security descriptor.
The Database Activity menu provides the following options:
This is currently only applicable for OGSA-DAI WSRF distributions.
The Security menu provides the following options:
The SQL result set viewer displays the results of an SQL query in tabular form and allows you to save the data in a comma-separated values file.

The File menu provides the following options:
The XPath results viewer displays the results of an XPath query as XML text and allows you to save the data in an XML file.

The File menu provides the following options:
| Up: Clients | ||
| © International Business Machines Corporation, 2002-2006 | © The University of Edinburgh, 2002-2006 |